Let’s explore using Actions in Animator to create the following interactive design:
 The actual animation http://bit.ly/2CXrjD1 has *far superior quality than the gif the shown here.*
I want to start by emphasizing that what we’ll be making is a real component. Animator are all SVG and work on iOS, Android, and the Web. They’re stateful, programmable and best of all, you, the designer, retain control over your creations even after they’ve been integrated. But why does that matter?
The Trouble with Design Tooling
Users’ expectations have evolved past simple screen-to-screen transitions — the best apps now provide thoughtfully choreographed interactions to guide users’ every move. But even the latest and greatest screen design tooling isn’t helping us make this leap. We’re stuck trying to brute force artboards into describing complex states. We wrestle symbols, overrides, layout constraints, dynamic data, and design systems, only to create artifacts that aren’t the real thing. It leaves quite a few of us bashing into this realization:
Crafting a Sketch Library with clever symbol overrides was so gosh darn complicated compared to code
— Dick 👋 (@michaeldick) October 31, 2017
At Haiku we believe designers deserve something more powerful than the ability to draw magic lines between screens; more real than symbols that fall out of sync with production apps.
What might this look like? Glad you asked. We have a series of upcoming posts that will provide the full picture. Today we’re going to focus only on a piece of it: Actions.
Introducing Animator Actions
Actions are small snippets of code (JavaScript) with a lot of power. We’ve designed actions to be accessible to people who only know a little code, or who want to learn — as well as to engineering veterans.
To be clear: you don’t have to code to use Animator. Actions are completely optional, and you can stay strictly in the timeline and the stage, or you can dive right into the code. Animator invites you to bring your own skills to the creative table.
You can use Actions to:
- Travel through time by changing the timeline position
- Respond to user input
- Work with real data
- Change properties of app elements (think: position, color, etc,)
- And more! The rabbit hole runs deep, as you have all of JavaScript at your fingertips.
Using Actions to travel through time
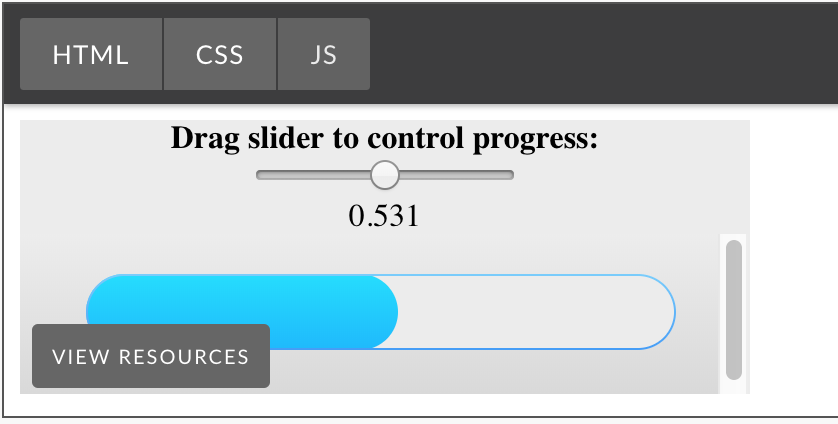
Let’s dive into exploring how to make an interactive experience in Animator. For the sake of simplicity, we’ll run the entire example on a single timeline; within a single component. A lot can be achieved even with these constraints. From the first gif you may have noticed that the first portion of the timeline showing movement in the water loops until the user clicks the ‘Check Out’ button.

This is achieved with a Frame Action — an event that is triggered every time a frame is crossed. We’ve put ours on frame 518 and instructed it to go back and replay from the beginning (time 0). See below:

With this Frame Action in play, the timeline will never cross this frame on its own — it will respect the command to jump back and repeat from the beginning. The selected snippet is simply inserting JavaScript. By the end of this tutorial you should be reassured that you don’t need to know JavaScript to be able to achieve the behavior you’re pursuing. Most tasks can be accomplished by inserting a snippet and knowing to which point in time you’d like to travel. Don’t believe me? Let’s time travel again; this time when the user clicks the ‘Check Out’ button.
Using Actions to respond to user input
Let’s add an Element Action this time that will tell the timeline to jump past our Frame Action and play our finale sequence. This section begins on millisecond 8780, so let’s instruct the button to play the timeline from that point.

With just these two Actions — one on a Frame and one on an Element— we’ve achieved a quite a lot, wouldn’t you say?
The actual animation http://bit.ly/2CXrjD1 has *far superior quality than the gif the shown here.*
Properties that listen
Let’s continue exploring. You may be familiar with using simple formulas in spreadsheets to create dynamic equations.

It’s a simple and clear, yet powerful provision for referencing a value stored in one cell and using it in another in a new way. We’ve taken this construct and put it into all of our property inputs inside of Animator. We call them Expressions. Our inputs can, of course, take a simple value, but they become dynamic expressions when you start them with an “=”.
Let’s make our static ‘Check Out’ button dynamic by telling its horizontal position to reflect a small percentage of the user’s mouse position.

Following the same pattern for the button’s Position Y, we can achieve a dynamic effect that draws attention to the call to action.

Animator’s Expression Inputs can also listen to States. You’re able to define and alter these States to create a virtually limitless amount of dynamic interactivity. We’ll leave that piece for the next tutorial, where we will demonstrate how to pass dynamic data into your Animator creations, as well as how to drop them into your codebase.
Thanks for reading! Be sure to follow us on our social channels for updates.
This post was originally posted on Medium