Developing user interfaces that work anywhere is a necessity, but it's not easy in a landscape where devices are constantly evolving and supporting new modes of interaction.
Take touch/non-touch devices for example — if your UI can support both types of interaction it is able to support a larger number of devices, including the emergent category of desktop computers that have touch screens. In this particular case, the user may interact with your interface with both touch and mouse.
In this post, we'd like to show you one of the many functionalities that Animator has to offer to make your life easier when building user interfaces that work anywhere: $user.mouches (that's mouse + touches = mouches 😎) This feature will allow you to create pieces of UI that react to both touch and mouse interactions. You'll also be forking and playing with a project from our community to try it out!
Here's the end result, go ahead and drag the rectangle!
A brief overview
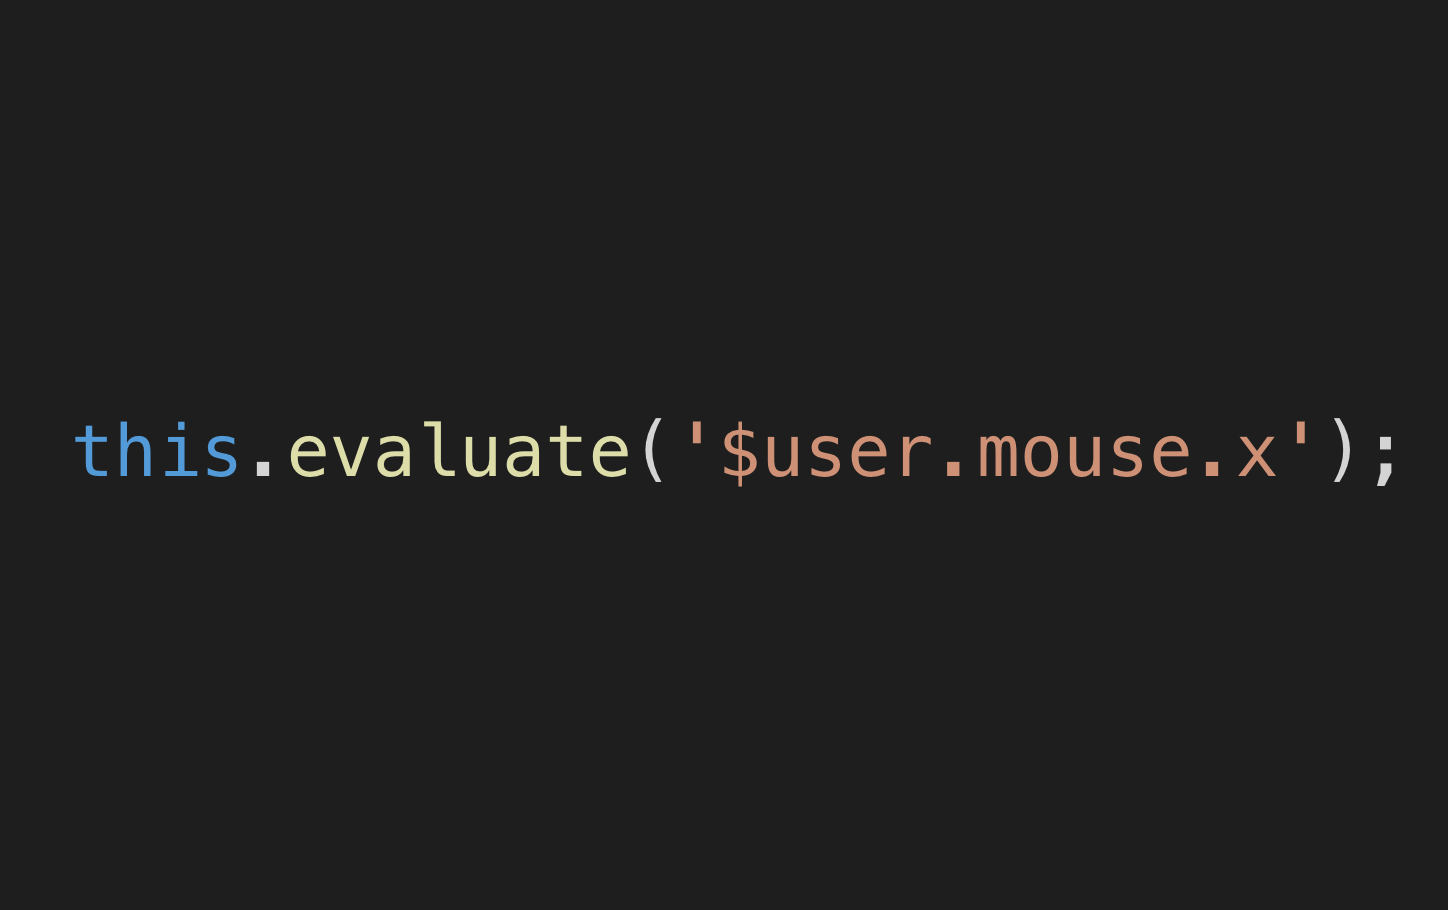
$user.mouches is one of the multiple Summonables that you can use inside Expressions in order to enhance the user experience and add interactivity to your project.
Tip: if you want to learn more about Summonables and Expressions, you can find video tutorials and posts in our Learn page!
$user.mouches provides a single interface to interact with touches and mouse clicks. More technically, this interface is an array that contains one object per mouse or touch event happening. That is:
- When the screen is effectively being touched.
- When any of the mouse buttons is pressed.
Every one of these objects in the array contain data, which can differentiate between a touch and a mouse interaction, and they also contain useful information depending on the case:
- If the event is a mouse press event: you are provided with the screen position in which the event is occurring and with information about which button is being pressed.
- If the event is a touch event: you are provided with the screen position in which the touch is occurring.
Examples / quiz
- If there are no touches/clicks happening, the value of
$user.mouchesis[](an empty array) - If there's a touch happening, the value of
$user.mouchesis:
[
  {
    x: number,
    y: number,
    clientX: number,
    clientY: number
  }
];- If there's a click happening, the value of
$user.mouchesis:
[
  {
    x: number,
    y: number,
    // each item in the array represents a mouse button (left, middle and right)
    // and a non-zero value indicates that the button is pressed.
    buttons: [1, 0, 0],
    clientX: number,
    clientY: number
  }
];- If there's a click and a touch happening at the same time, the value of
$user.mouchesis:
[
  {
    x: number,
    y: number,
    buttons: [1, 0, 0],
    clientX: number,
    clientY: number
  },
  {
    x: number,
    y: number,
    clientX: number,
    clientY: number
  }
];
Example: having fun with $user.mouches and Forks
In this example, we are going to play around with a 3D object. In order to simplify things you are going to fork and modify a project from our community.
The project that we are going use as a baseline is 'cuboid' by zack4 (go check it out!).
But now, instead of having the cube follow the user mouse like it does in the original project, we're going to let the user rotate the cube when they click or touch the screen.
First things first, you must go to the 'cuboid' project in the share page, and click on 'Fork':

You will be taken to the fork page, all you have to do is click on 'Fork Now'. This will open Animator, and automagically import 'cuboid' into your account!
Tip: If you want to learn more about forks, read our documentation.
Cleaning things up
We need to do a bit of a clean-up. First let's position the cube at the center of the screen. For this, ensure that the timeline ticker is at frame 0, select the cube on the stage and align it to the center of the stage using the Align panel at the top:

Finally, you need to remove all animations, for this you can zoom out a little bit and use marquee selection to select and delete them:
Using mouches
Now for the fun part! To achieve the desired effect, we need to modify the rotation.X and rotation.Y properties of the cube based on the interaction of the user via $user.mouches.
We want to:
- If the user is touching/clicking the screen, grab the current cursor position and modify the desired properties based on that.
- If the user is not touching the screen, assign a default value to the required properties.
For this, you can use the following expression to check if there is a “mouch” present, otherwise set the rotation to Math.PI * 2.
For rotation.X, use the expression:
= $user.mouches[0] ? $user.mouches[0].x / 100 : Math.PI * 2;And, for rotation.Y use:
= $user.mouches[0] ? $user.mouches[0].y / 100 : Math.PI * 2;And that's it! to preview your project you can use the eye button located on the top-right corner of the app.
That's a wrap!
Give it a try! Here is the project used in this example so you can fork it and play around with it: https://share.haiku.ai/u/robertodip/cuboid
If you have any ideas for tutorials you'd like to see, please shoot us a quick email to contact@haikuforteams.com
See you soon!
Keep up to date with the latest on: