When you import slices from Sketch into Animator and place them on the stage, what's really happening behind the scenes? Although this process might seem very simple on the surface, there's actually a lot going on under the hood. This post will give you a glimpse into how Animator turns designs and illustrations into animatable elements.
Step-by-step process
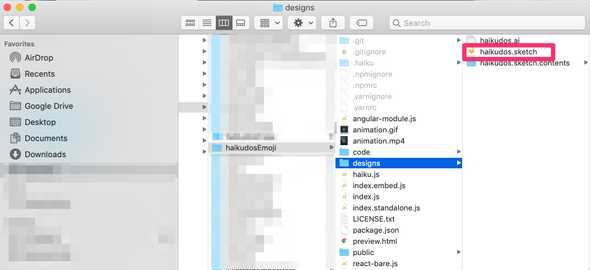
- Copy the Sketch file. The first thing Animator does is copy your source Sketch file into the project folder. This happens so that the changes you make to your design assets can be tracked with version control, all changes in Animator projects are tracked by Git! Also, in the near future this will also allow us to bring some powerful collaboration features for you and your team into Animator.
- Sketch → SVG. Sketch comes with a CLI utility called
sketchtoolwhich can be used to export pieces of your design as SVG files without having to open up Sketch. When any Sketch file in your project changes, we callsketchtoolto retrieve these SVG assets, which we also store in your project folder as shareable, version-controlled design assets. Fun fact: You can edit these SVG exports directly if you want to! - SVG → svgo. All SVG assets are passed through
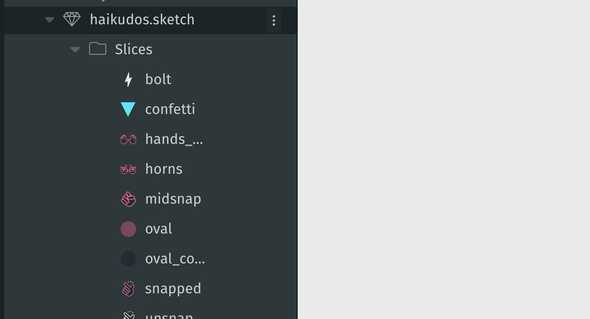
svgo, an open-source utility that optimizes SVG content.svgotakes care of removing unnecessary elements, consolidating attributes where possible, and performing other optimizations to make your component bundle size slightly smaller and therefore, your animation more performant. - SVG slices → Library. When Animator detects that new assets are available, it scans through the list to find assets that are capable of being placed on stage. Since SVG is web-friendly, any SVG file in your project is included in the listing. Any of these individual layers can be placed onto the stage via Drag and Drop. And changes to the source slices/artboards in Sketch are reflected in the SVG layers instantly.
-
SVG → on-stage element. Here's the fun part. When you drop one of your SVG slices on stage, Animator doesn't just place the SVG content itself. It transforms the element into a third, stage-friendly format for three reasons:
- Design tools don't usually address downstream developer usage, so Animator needs to normalize the slices so that they play nicely with other slices. For example, identifier collisions in SVG exports are very frequent. Because of this, Animator checks to ensure that all identifier attributes are unique, while preserving their references within the layer, such as
url(#my-id). This happens so that attributes don't accidentally get clobbered by other elements which may be executed in the same context. - Animator is an animation tool, so static attributes are converted into animation descriptions. Animator needs to store attributes in a format that allows changes over time to be expressed, so that you can animate any part of your design or slices. Then, storing attributes inline, such as
x="123"orstroke="red", is insufficient. In short, Animator hoists attributes from your source SVGs into a third, human-readable animation format that looks roughly like this:"stroke": {"0": "red"}. Ifredchanges from the time0 msto100 ms, the animation can be thus represented.
- Animator provides a game-engine-like positioning system that converts SVG/HTML/CSS positioning attributes into consistent positioning attributes in its own format. The positioning/layout powers of HTML/CSS are limited by the fundamental fact that they are designed for document styling, not animation. Animator fixes this with a scene graph and positioning primitives that closely resemble those found in game engines. This means that any attribute in the SVG that represents position or size, such as
x="123", orstyle="transform: scale(0.2)", must be converted into the attributes in Animator's system, such as"translation.x": 123, or"scale.x": 0.2, "scale.y": 0.2, which requires more internal wrangling than it may seem.
- Design tools don't usually address downstream developer usage, so Animator needs to normalize the slices so that they play nicely with other slices. For example, identifier collisions in SVG exports are very frequent. Because of this, Animator checks to ensure that all identifier attributes are unique, while preserving their references within the layer, such as
-
Element payload to component format. There is now a representation of the original SVG in a format that can be processed by Animator. By dragging and dropping the slice onto the stage, Animator analyzes which of all existing components is currently being edited, and it adapts the code of that component to include the data from the SVG representation.
-
Render. Once the component contains an instance of the SVG representation, the renderer displays it making the now animatable slice editable via both Design mode and Code mode.
That's a wrap
In this post we took a behind the scenes look into what goes into transforming a slice from Sketch into an Animator-ready asset on the stage. And this is just the tip of the iceberg! Building an application like Animator is in itself a complex problem — one that our team is passionate about solving. Learn more about the current state of Animator and about upcoming features in future posts. Stay tuned!


